WordにReadCube Papersのアドインを入れて論文を書く今日この頃。
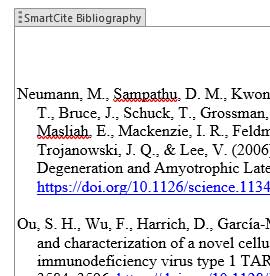
雑誌の規定にあったBibliographyのフォーマットが、リストの中から見つからなかったりする。
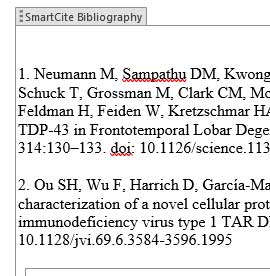
今回は、APAのスタイルに近いんだけど、Referenceのところにリストナンバー「1.2....」を入れる必要がある。
とゆーことで、SmartCiteのBibliographyをカスタマイズしてみる。
Bibliographyをカスタマイズする
WordアドインからFind and edit CSL citation stylesのサイトへ
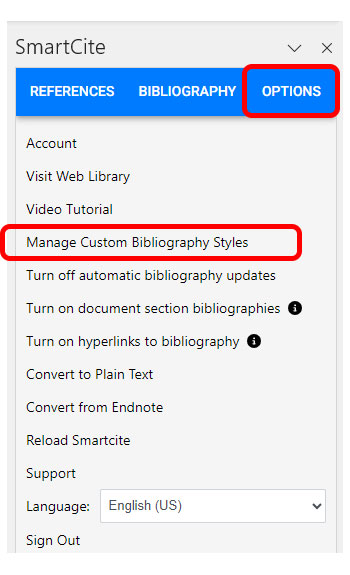
まずは、SmartCiteの「OPTIONS」のタブ→「Manage Custom Bibliography Styles」を選択。
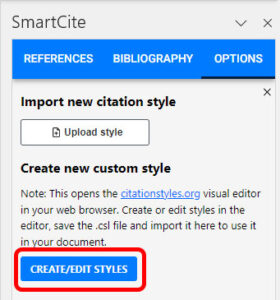
「CREATE/EDIT STYLES」を選択。
「Find and edit CSL citation styles」のサイトへ飛ぶ。
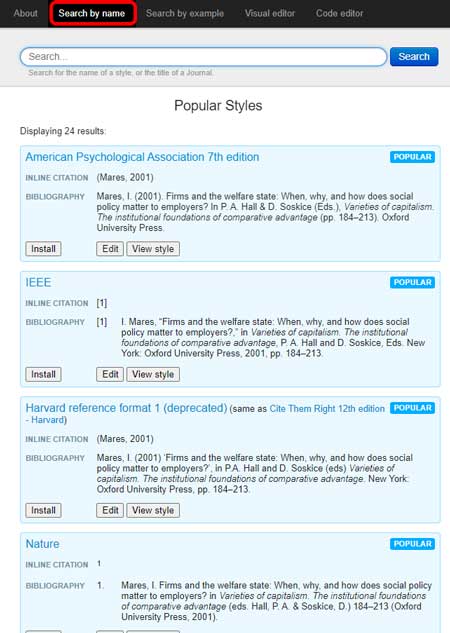
ここには、最も一般的に使用されているStyleがリストとして並んでいる。
いくつかみていくと、カスタマイズの方法が見えていくる。
Find and edit CSL citation stylesのサイトでCSLスタイルをカスタマイズ
一番近いスタイルを「ちょっと修正」するのがbetter
今回は、APAのスタイルをちょっとカスタマイズしたいので、「American Psychological Association 7th edition」の「Edit」をクリック。
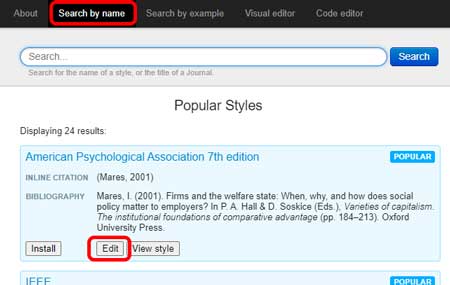
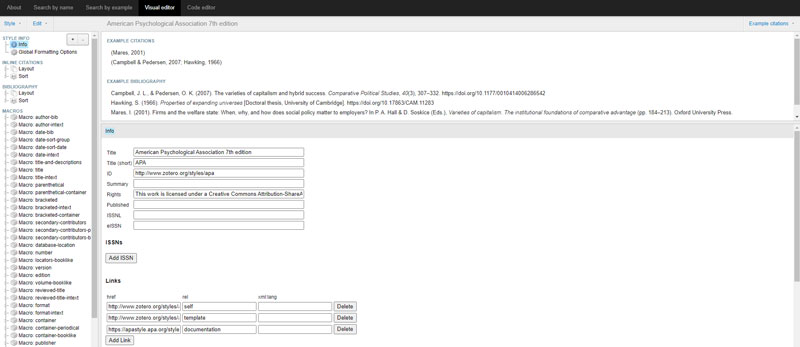
APAのカスタマイズ画面へ移動する。
右上にある「Example citations」をクリック→「article-journal」に✓を入れると、
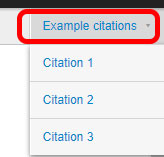
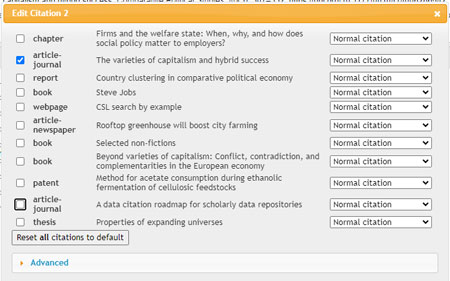
論文用のCitationとBibliographyの例が表示される。

Citationsをカスタマイズ
今回はCitationsは変更しないけれども、一応書き留めておく。
左のタブで「INLINE CITATIONS」ツリーの「Layout」を選択。
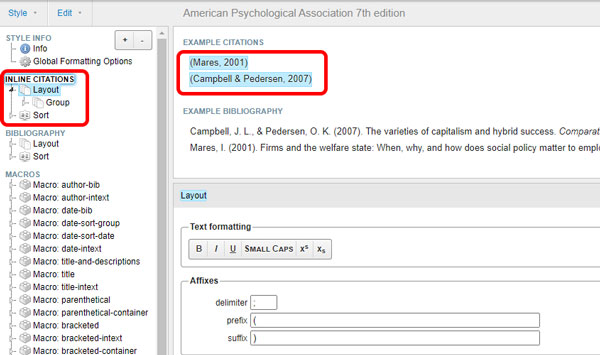
必要に応じて、Affixesの
- delimiter: 分割する時の記号
- prefix:前の部分
- suffix:後ろ部分
を変更し、希望のフォーマットにカスタマイズする。
ナンバーに変更したりなどは、左タブの右上にある「+」で機能を追加していく。
Bibliographyをカスタマイズ
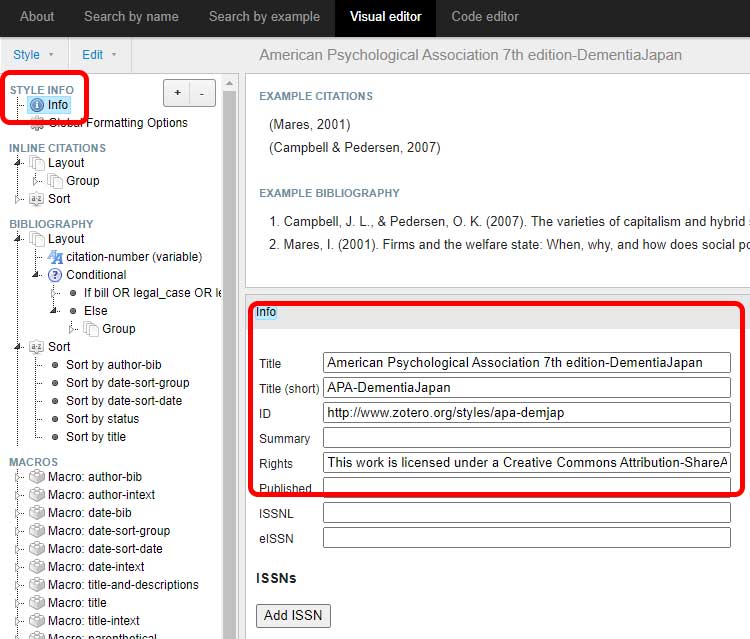
左のタブで「BIBLIOGRAPHY」ツリーの「Layout」を選択。
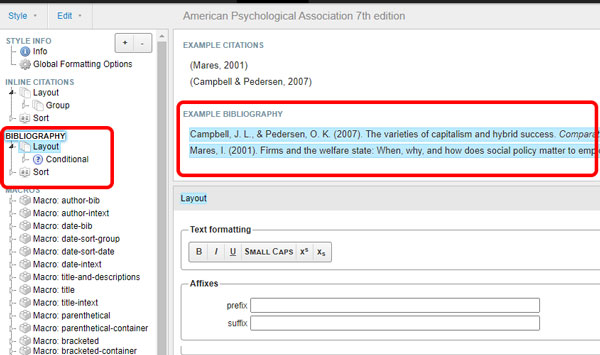
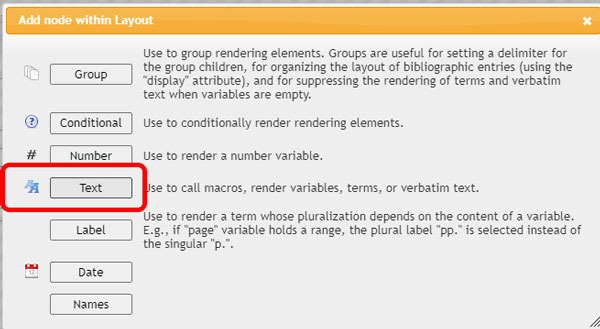
今回は、機能を追加したいので……この状態で、右上の「+」をクリック。
リストナンバーは「Text」の機能に入っている。
「Type → variable」をクリックし、プルダウンから「citation number」を選択。
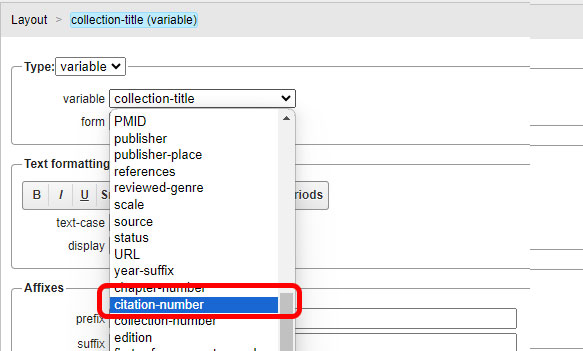
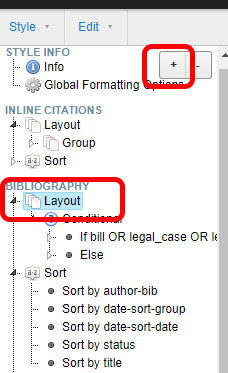
Layoutの最後の方にcitation numberがセットされるので、これをドラッグしてLayoutの一番の上の階層へ移動。
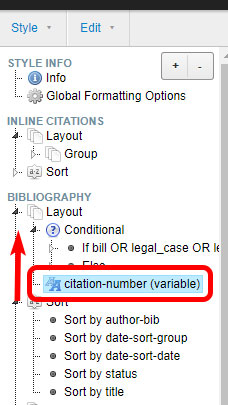
citation numberをLayoutの最上層へ移動すると、名前の前のところにナンバーが表示されるようになる。
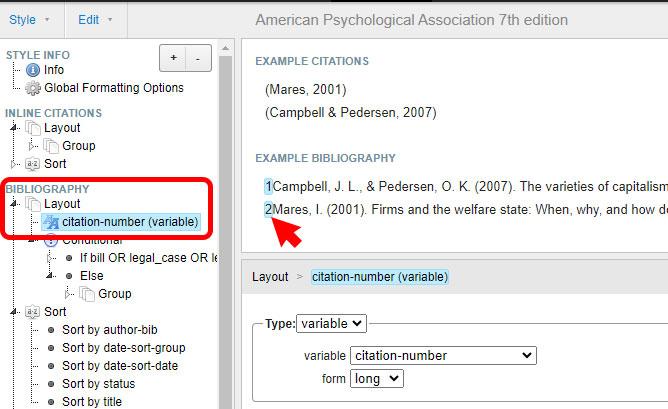
あとは、Affixesで形を整える。
- delimiter: 分割する時の記号
- prefix:前の部分
- suffix:後ろ部分
なので、suffixのところに「. 」と入れれば、EXAMPLE BIBLIOGRAPHYは「1. Author names...」というスタイルに変わる。

今回は、これだけ変更すれば良いので、左タブのSTYLE INFO→ infoを選択し、名前やIDなどを自分がわかるように変更する。
そして、「Style → Save Style」
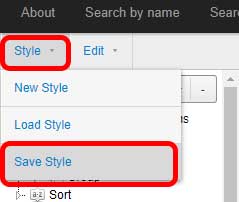
「Papers」を選択し、Download Styleをクリック。
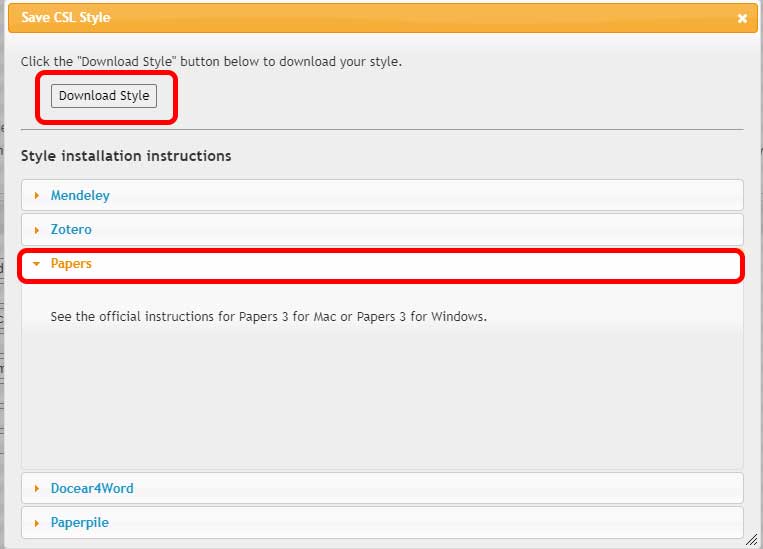
CSLスタイルがダウンロードされる。
Wordのアドインにアップロード
Wordに戻り、「Smart Citations → OPTIONSタブ → Upload style」。
PCにダウンロードしていたCSL Styleをアップロード。
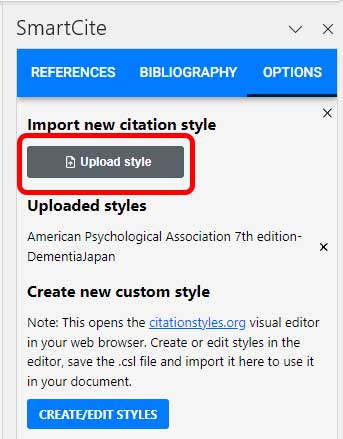
無事成功!
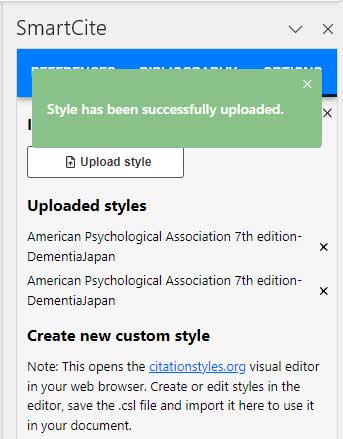
アップロードしたスタイルを選択
あとは、「BIBLIOGRAPHY」のタブから、アップロードしたスタイルを選択 → 「UPDATE BIBLIOGRAPHY」をクリック。
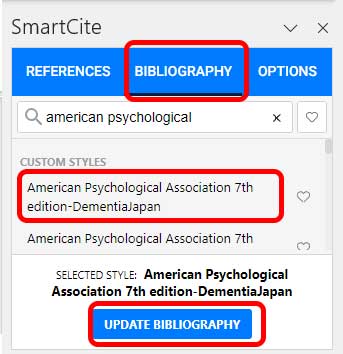
いい感じにBibliographyが変更できた。