パワーポイントでプレゼン資料を作る時、私は毎回同じ設定で作っている。
で、最初にパワーポイントを開いたときから、その設定にして置いたほうが手間が少なく便利なので、私は自分用テンプレートを作って毎回それを利用している。
以下、その方法。
PPTを開き、いつものデザイン設定を行う
PPTのテーマを設定
1.PPTを開いて、「Alt → G」もしくは、上のデザインタブから任意のテーマを選ぶ。

スライドマスターでデザインを設定
1.「Alt → W → M」もしくは、上の「表示」タブから「スライドマスター」を選択する。

2.スライドマスターを選択し、レイアウトを変更する。
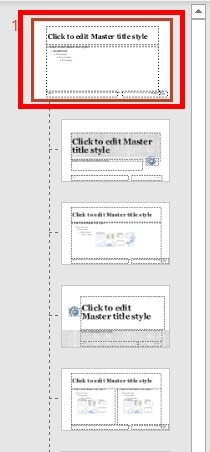
※ 必ずレイアウトマスターに変更を加える前に、スライドマスターを調整する。
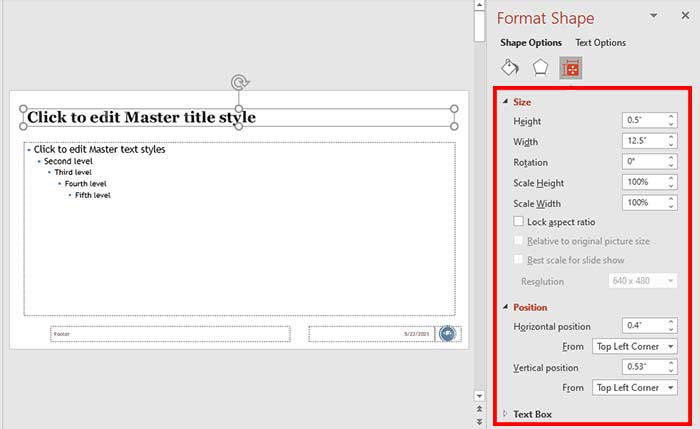
私は、タイトルを
- 高さ: 0.5 inch
- 幅: 12.5 inch
- 水平位置: 0.4 inch
- フォントサイズ: 32 px
メインテキストを
- 高さ: 5 inch
- 幅: 12.5 inch
- 水平位置: 0.4 inch
に設定している。
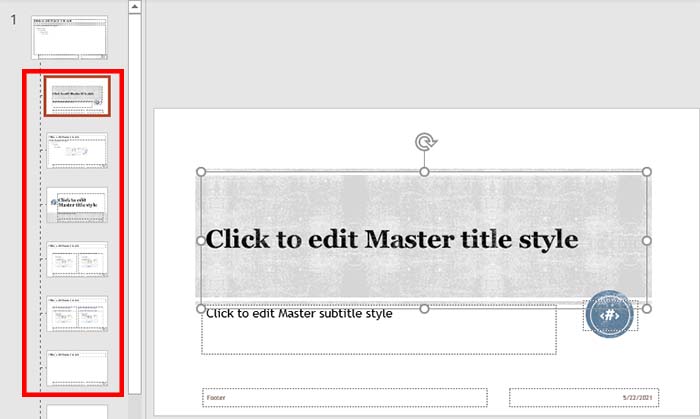
3.レイアウトマスターを選択肢、レイアウトを変更する。
スライドマスターで全体設定が終わったら、必要なレイアウトのみレイアウトマスターで変更していく。
私はタイトルスライドのフォントを変更したり、数パターンの画像レイアウトを追加したりしている。
テンプレートとして保存
デフォルトの設定が終了したら、テンプレートとして保存する。
保存先とファイル名
保存先:C\Users\ユーザー名\AppData\Roaming\MIcrosoft\Templates
ファイル名:blank.potx
ファイルの種類:PowerPointテンプレート(*potx)

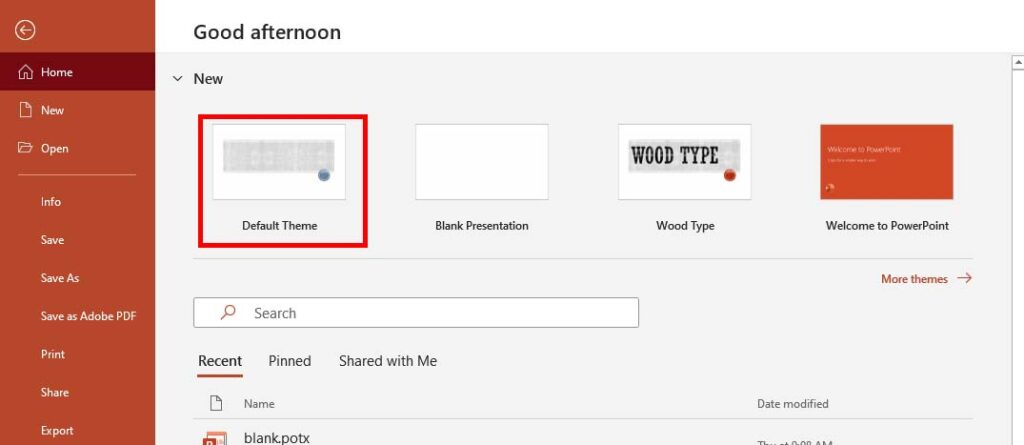
次に開く時、設定したデフォルトのテーマを選ぶ
以上で設定は終了。
次にパワーポイントを開いた時、デフォルトテーマに、自分で設定したテーマが追加されているので、それを選択して作業を開始する。
Reference
ヘルプデスクサイト「ヘルプの森」PowerPoint_新規作成したスライドの書式を変更するヘルプ