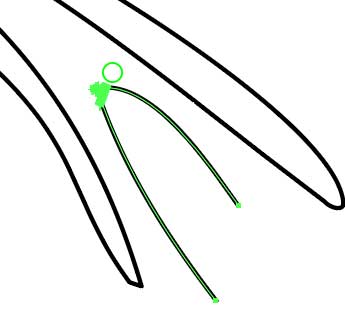
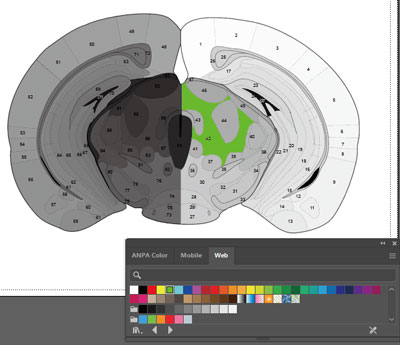
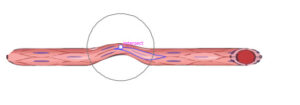
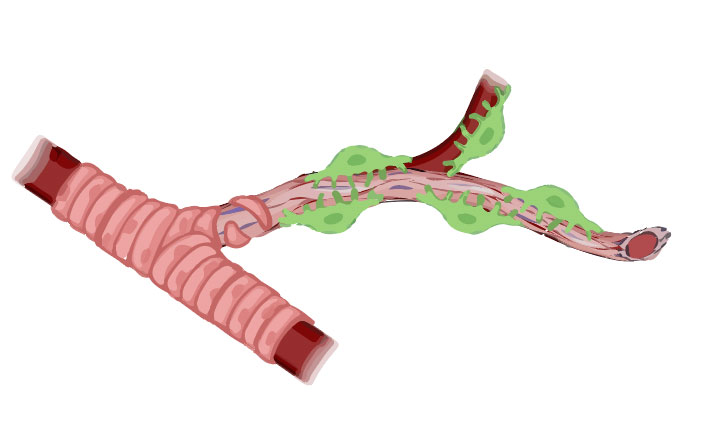
この血管の図形、内皮細胞がないので、足してみる。
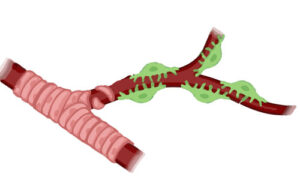
まずは直線でこのような内皮細胞の管をつくる。
これを、ArterioleのBranchに沿って変形させたい。
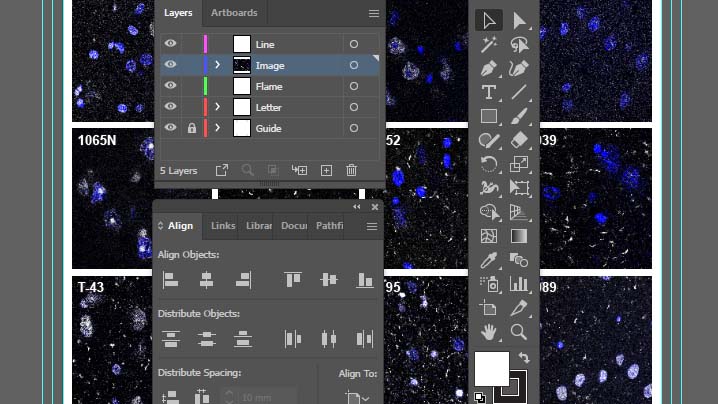
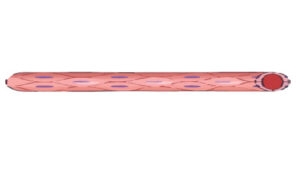
オブジェクトを歪める
この時役に立つのがWarp Tool(Shift + R)。
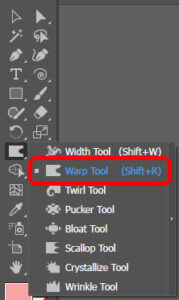
オブジェクトを選択した状態で、「Shift + R」。
目的の部分の上にカーソルを合わせ、左クリックを押しながら変形させたい方向にドラッグ。
これを複数回繰り返して、目的の形に整形する。
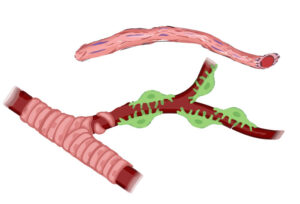
できたら重ね合わせて出来上がり。
この時、管腔、内皮細胞、ペリサイトはそれぞれレイヤーを変えておくと便利。
(上から、ペリサイトレイヤー、内皮細胞レイヤー、管腔レイヤーとなるように。)
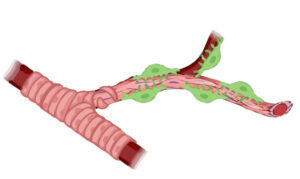
配色を変える
ただこのままだと、左隣のSMCと色が被るので、少し配色を変える。
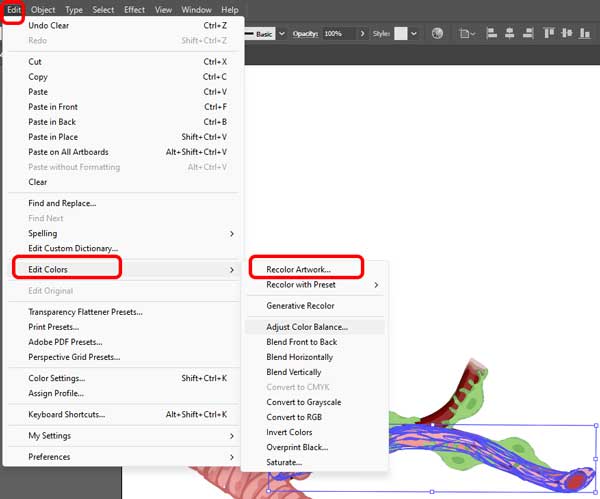
オブジェクトを選択した状態で、「Edit」→「Edit Colors」→「Recolor Artwork」。
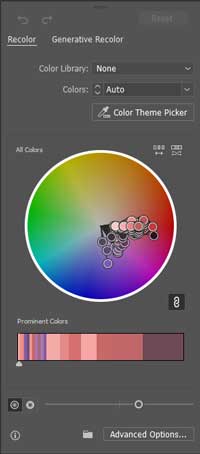
パネル下のバーを動かし、少し彩度を落とした。
とりあえず今日はここまで。