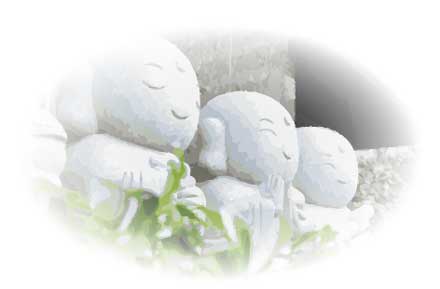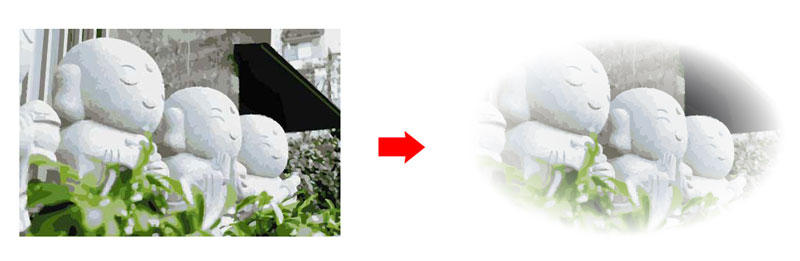
上の画像のように、画像をボヤッと切り抜く方法。
1.クリッピングマスクで切り抜く
まずは切り抜きたい画像を用意。

切り抜きはクリッピングマスクで。
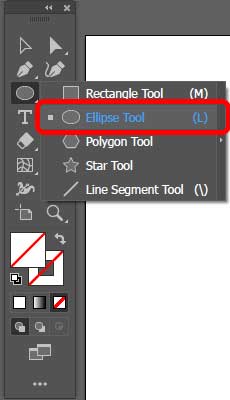
shapeで適当な形を選んで、
切り抜きたい画像の "上に" 乗せる。中身は塗りつぶす。

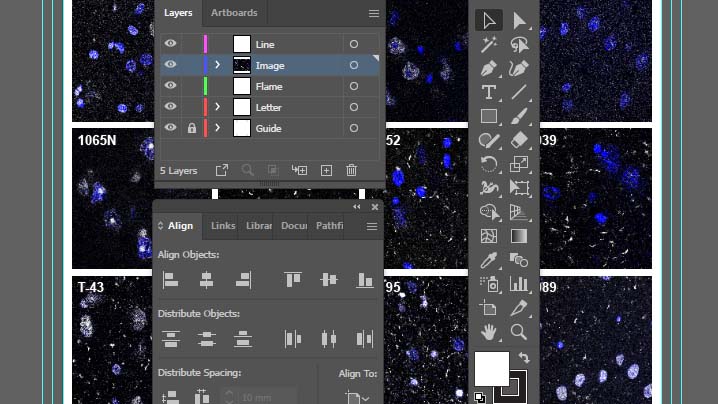
両方のオブジェを選択した状態で、右クリック→「クリッピングマスクの作成」
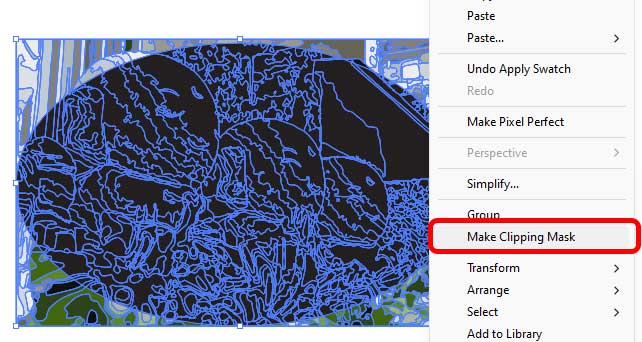
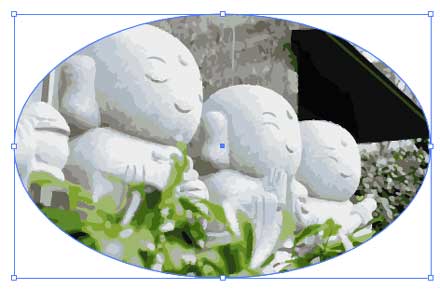
画像が、上のシェイプの形に切り取られた。
2. Featherでぼかす
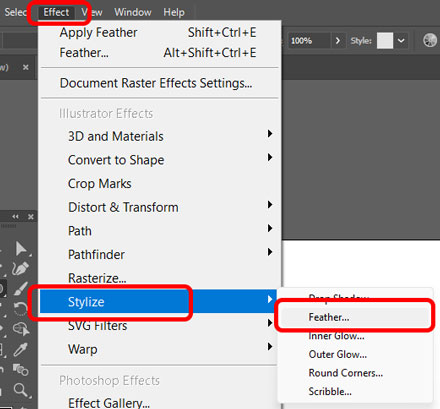
次に、クリッピングマスクを選択した状態で、"Effect" → "Stylize" → "Feather" を選択。
ぼやかしたい程度を調節。
"Preview" にチェックを入れておくと、プレビュー画像を見ることができる。
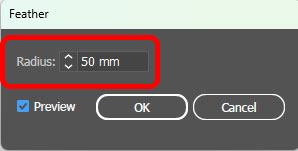
"OK" をクリックすると、輪郭がボヤッとなってる。

選択を解除すれば、完成。