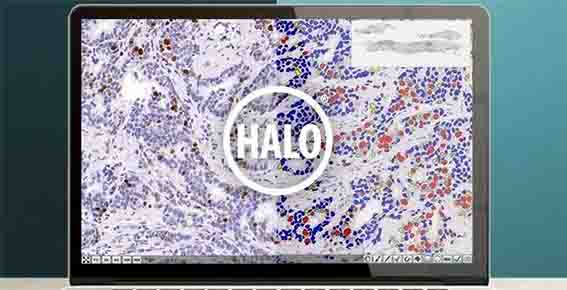
以前まではHaloでスキャナ画像の解析をしていたけど、
こちらのラボではスライドスキャナーがあるので、スキャナーでスライドを取り込んでバーチャルスライドとして全体の解析が可能です。 私は今まで画像解析はImage Jで行っていたのですが、画像が大きすぎてImage Jは使えな …
異動先のラボではHaloを導入していなかった……とゆーことで、フリーソフトのQuPathを使う事に。
せっかくなので、方法等を随時書き留めていく事に。
QuPathのダウンロードとインストール
まずは QuPath のインストール。
下記サイトからダウンロードする。
QuPath is cross-platform, user-friendly open source software for digital pathology and whole slide image analysis, written using JavaFX. QuPath has also been designed to be developer-friendly, and combines an extensible design with powerful scripting tools.
私は Windows を使用しているので、Windows のサイトから。
でっかく"Download for Windoes > " と書かれたアイコンをクリックし、アプリをダウンロード。
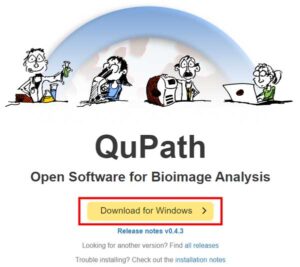
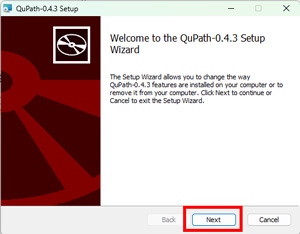
Instruction に従って、インストールしていく。
基本、Next,Next...Finish で。
Qupath と QuPath (console)
できたらデスクトップ画面に、"QuPath" と "QuPath (console)" の2つのアイコンがでてくる。
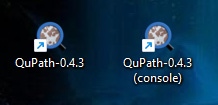
"QuPath" はQuPathのみ。"QuPath (console)" は、QuPath を立ち上げる時にコマンドライン (コンソール) 画面も同時に立ち上がる。
コンソール画面で流れている情報は、トラブルシューティングする時は、Forum で誰かに助けを求めるときなどに役立つ。
けれど、特に設定を変更したり、トラブルシューティングが必要だったりせず、普通使いの時には、コンソールなしで使っていてOK。
Hello I have just downloaded and installed (locally) the latest version of qupath, but there are two icons on my desktop, one that says qupath 0.2.0 console , an the other one just qupath 0.2.0 - what is the difference? which one should I use?
Qupath を開く
Qupath のアイコンをクリックして、QuPath を開きます。
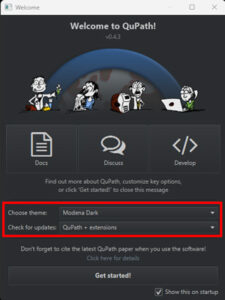
"Welcome to QuPath!" のアイコンがでてくるので、自分の好きな条件を選択して、"Get started!" をクリック。

私はどうしても Dark 画面が落ち着くので、下記に設定。
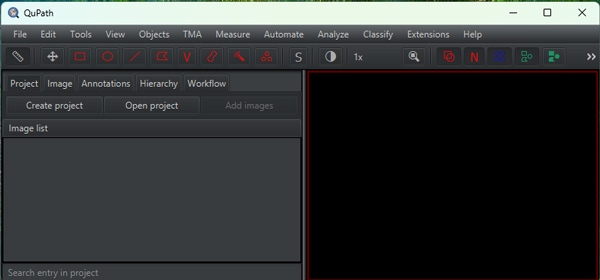
パネルが開いて、作業の準備ができました。
